Features
Drilling
Steps to follow before, during and after soil sample collecting
Recording soil sampling data
February 21, 2024 By Joe Haynes
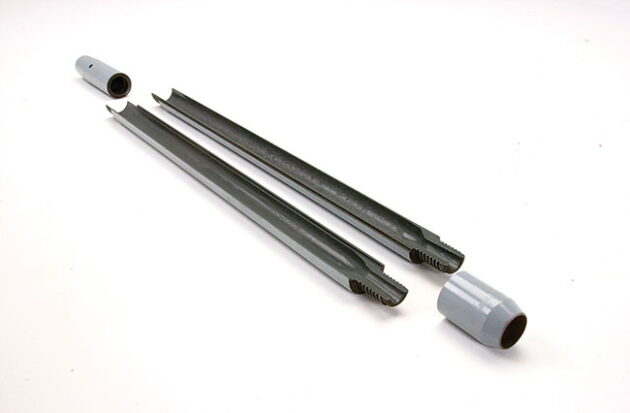
 Recording soil sampling data correctly saves time and costs.
Photo credit: lone star drills
Recording soil sampling data correctly saves time and costs.
Photo credit: lone star drills Whether it’s choosing the location for a new home or rotating crops that feed an entire country, soil sampling data is used to make important, long-lasting decisions.
Recording soil sampling data accurately and properly handling the collected samples can save time, reduce cost and streamline operations.
Here are some suggestions about what should be done before, during and after a soil sampling project to keep the process efficient and accurate.
Before starting
Establishing a recording system prior to entering the sample site is crucial to accurate data recording. This includes setting up a dedicated soil sample log and pre-labeled containers. Preparing materials beforehand allows the operator to focus on recording data accurately and implementing the proper sampling equipment.
Assign the overall sample area a unique identifier such as SA-1 – Sample Area One. From there, the terrain layout and soil sample requirements will largely dictate the labeling method used, but sample areas can be broken down further into sample sites, like SS-1, SS-2 and so on. Then, borings can be assigned to specific sample sites within the overall sample area and label individual boring containers – as well as the logbook – with this information.
Referencing and recording data will be much more fluid after establishing an identification system. From there, operators can decide what specifics should be recorded on the individual sample containers and what should be in the logbook. For example, it’s good practice to record boring co-ordinates, dates and times in both locations.
Record any equipment changes due to changing soil conditions, whether that’s switching augers, using hand sampling tools or bringing in an entirely different drill rig.
Photo credit: Lone Star Drills
During the process
Once containers have a label, the logbook is set up and data recording priorities have been established, note the date and time of arrival at the sample area and the times for every boring within a sample site. Be sure to record the last boring time along with the time range for the sample site, SS-1, before moving on to SS-2 and starting the process over. With soil conditions constantly changing, the tiniest detail from time of year to time of day can impact the results and how they’re interpreted.
Take note of the weather conditions upon arriving at the sample area and consider how these may change during the collection process. Also note the soil conditions. Soil condition descriptors can be anything that seems relevant, such as smooth, gritty, sand, clay and more.
Record any equipment changes due to changing soil conditions, whether that’s switching augers, using hand sampling tools or bringing in an entirely different drill rig. Equipment model names and drill types are important to note. This may be the same for an entire sample area or may change from site to site. Additionally, note the borehole depth and size of the soil sampler. At this point in data recording, consider noting the blow counts needed to drive in the soil sampler to the desired depth. This should be noted for every borehole.
Photos are also an important part of the documentation process. Pictures of the sampling process at every borehole can be useful and shed light on mistakes when reviewed later. Additionally, photograph the surrounding soil, entire soil sample and any individual sections chosen from the sample for later reference and note-taking confirmation. The camera used for site photography can also provide an excellent third source for referencing soil date and time in addition to the logbook and containers.
After sampling
Different industries and contractors establish their own standard operating procedures for handling and storing samples. However, an airtight container for storage in the field is essential. From there, place the samples in the shade, preferably in a cooler, until they can be refrigerated or sent to a lab. Individual labs may offer further shipping and storage recommendations.
While the impact of soil sampling may seem to rely solely on the trusted systems set in place – like a testing lab – to provide reliable data, it’s important to remember that a contractor’s actions will determine how closely the soil sample that arrives at the lab represents the soil at the jobsite. Contact the manufacturer of the drill to learn more about how to keep soil samples safe on the jobsite.
Joe Haynes is president of Lone Star Drills.
Print this page